Mountains
Step 1: Define the Shape
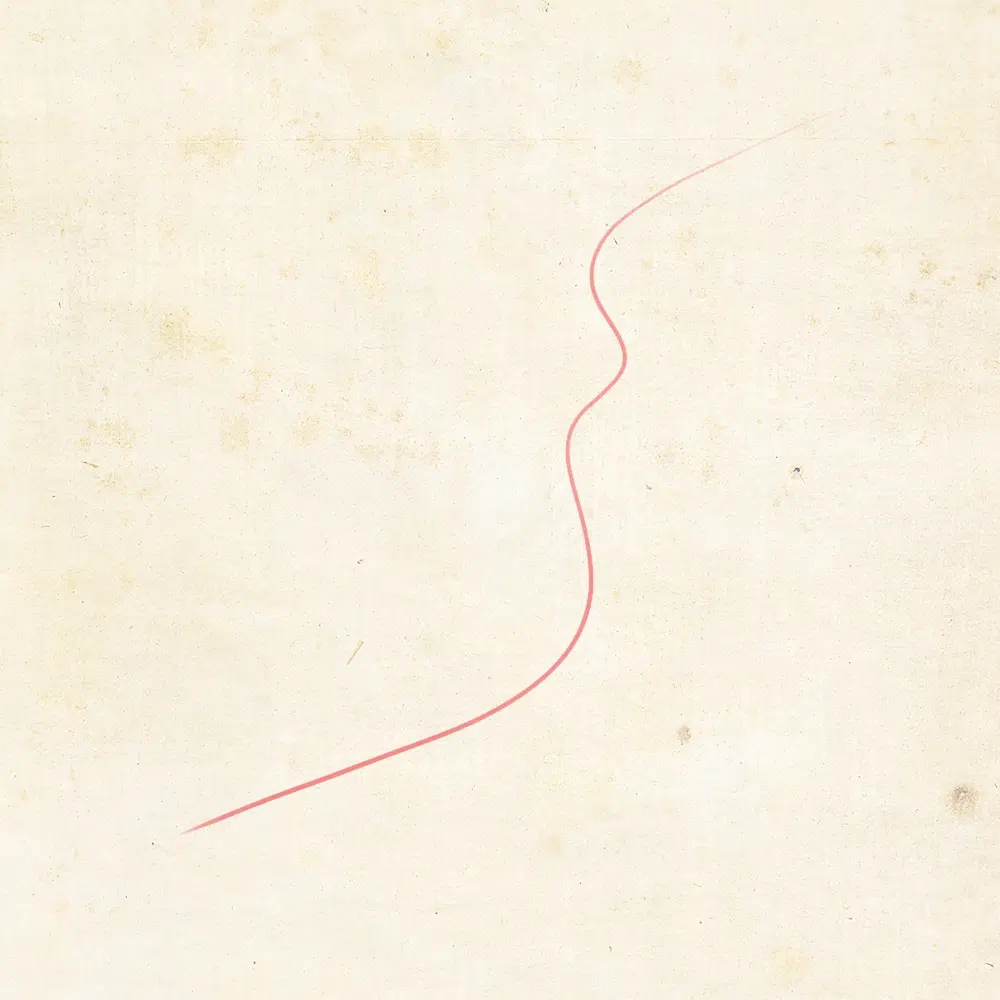
Draw a line to indicate the shape and direction that you want for your mountain range. Mountain ranges naturally follow a smooth line, without sharp angles or corners. The mountains around Mordor look cool, but aren’t very realistic.
For this tutorial I’m drawing a short mountain range. If you’re drawing larger mountain ranges you can add more variations and branches.

Step 2: Sketch out the Mountains
Sketch in the basic shapes of the mountains and peaks. This does not have to be anything too detailed yet. For now it helps us to get a good view of what the mountain range is going to look like and this is a good moment to check if it doesn’t look weird or repetitive.

Step 3: Draw the Main Mountains
Let’s now start with drawing the outlines of the mountains. Here we’re just going to draw the individual peaks. Details will come at a later stage.

Step 4: Add Foothills
Add foothills around the mountains to ground them in the rest of the terrain. These hills become smaller and more scarce as they move away from the mountains. This is also a great way to great valleys.

Step 5: Draw the Ridges
At this point we start adding detail to the mountains. Start by drawing the main ridges from the top of the mountains. Draw a steep line from the top and zigzag your way down. As the ridge gets closer to the ground it becomes less steep too.

Step 6: Add Details
You can now add additional details to the ridge by drawing lines that come down from the curves in the ridge. This lines should follow the contour of the mountains to help define the general shape of it. These details are a great way to add shape and texture to your mountains.

Step 7: Basic Color
The next step is to add basic color to the map. For this example I took a beige color and allowed some of the background to show through. This helps with blending the mountains into the surrounding terrain. I also used a soft brush to create a gradual transition in color.
Sometimes the black of the line art can look too stark on your map. In this case you may want to change the color of the line art. Take a very dark shade of beige and apply it to the line art.

Step 8: Add Shadows
The next step is to add shadows. In this example my light source is in the top left corner. This means that the shadows will be on the right side of the mountains. Around the ridges is where the rock catches the least amount of light, so those areas should be darker than the rest.

Step 9: Add Highlights
Finally we’ll add highlights to the mountains. The light source is in the top left corner so the highlights are on the opposite side of the shadows. The top of the mountain and the ridges catch the most light and these should be the brightest areas.
View all tutorials