Cliffs
In this short step-by-step tutorial you’ll learn how to draw a cliffs from start to finish, including the line art, colouring and shading.

Step 1: Define the basic shape
Let’s start with a basic shape. This will be the shape that the edge of the cliff will follow. Use a sweeping motion to create a natural looking share.

Step 2: Draw the edges
Now that we’ve decided on the basic shape of the cliff, it’s time to draw the edge. Keep the shape of the edge natural by avoiding straight lines and adding jagged corners. Avoid smooth shapes and curves, the cliffs should be sharp and “edgy”.

Step 3: The cliff face
A cliff is more than just a line. Beyond the edge is a steep drop. Drawn vertical lines down from the corners and points of the cliff’s edge. The length of the lines determines how high the cliffs are.

Step 4: Add details
It’s time to add details to you cliff. Keep adding more vertical lines falling the cliff face. You can also draw a subtle horizontal line where the cliff meets the ground. Additionally, you can add some horizontal lines along the cliff face to add some texture to the cliff.

Step 5: Flat colors
Time to get started with adding color. The first thing that we need to do is settle on the colors for the cliff. Which color works best depends a lot on what other colors you use in your map, so play around and see what looks best!
Sometimes the black of the line art can look too stark on your map. In this case you may want to change the color of the line art. Take a very dark shade of the original color and apply it to the line art.

Step 6: Shadows
Now let’s add shadows to the icon. I have my light source in the top left corner. This means that in this tutorial, most of the cliff will be covered in shadows. The areas that will be the darkest.
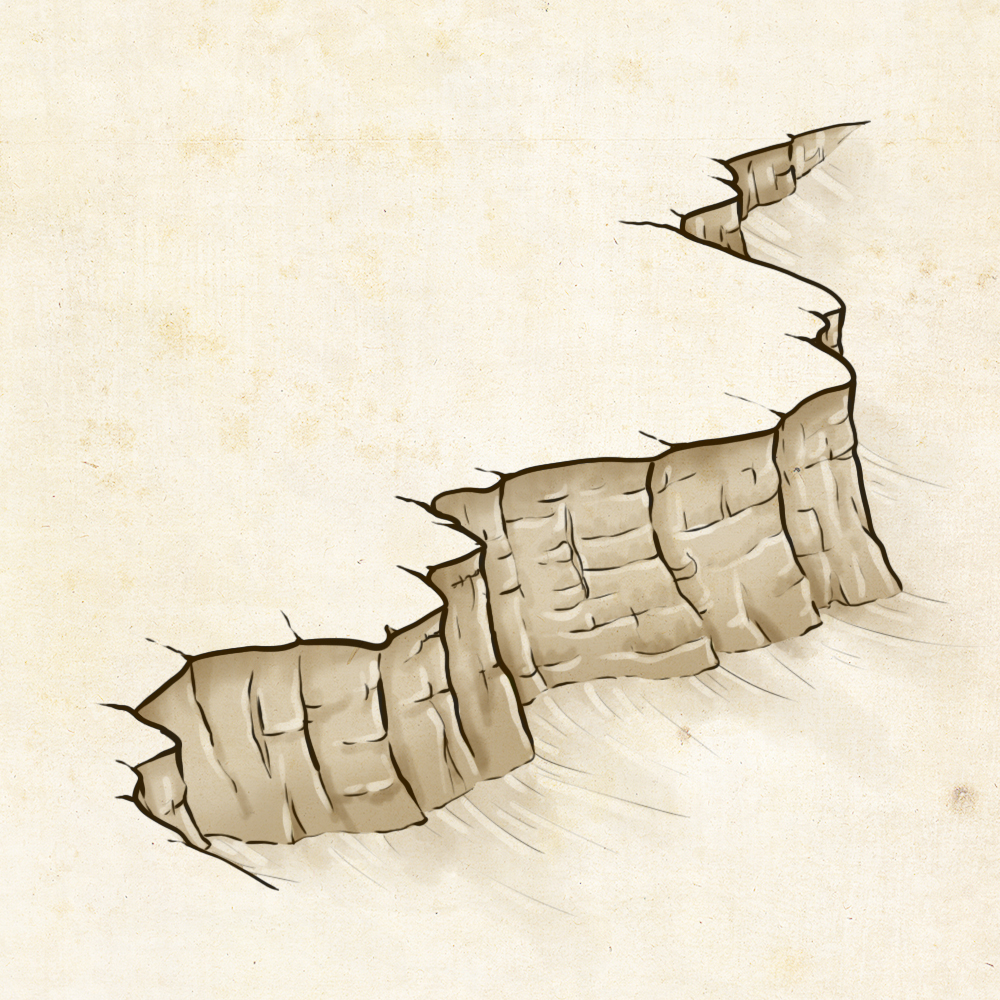
Step 7: Highlights
In this step we’ll add the highlights. We’ll do this the same way that we did with the shadows, except we’ll be drawing with a lighter shade of the colors. Add a light stroke around the areas where the light catches the cliffs. This is mostly along the “bumps” on the cliff face, and off course the edge of the cliff.
View all tutorials